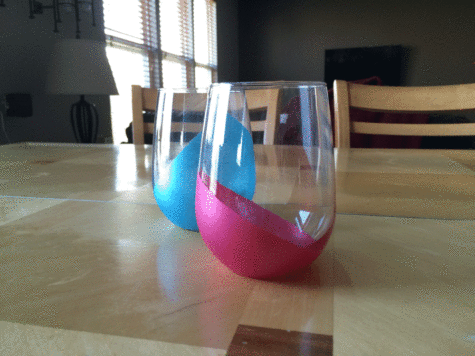
DIY Monday Painted Tumbler Glasses
Learn how to make your very own tumbler glasses.
Welcome back to DIY Monday. If this is your first time visiting this page then you should know that here we show you how to create your very own unique and easy DIY’s.
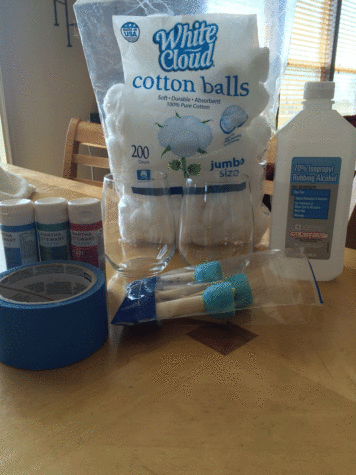
This week we will be learning how to make your very own tumbler glasses. First we start off by gathering all of the materials.
- Tumbler Glasses
- Martha Stewart Multi-surface Pearl Craft Paint
- Foam Pouncers
- Rubbing Alcohol
- Painters Tape
- Cotton Balls
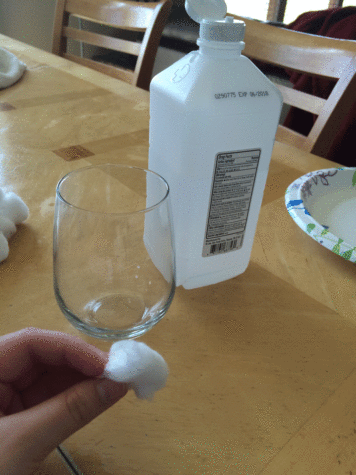
The first thing to do is to take your cotton balls and rubbing alcohol and rub the rubbing alcohol all over the glass tumblers (this help rid the glasses of the oils from hands making it easier to paint).
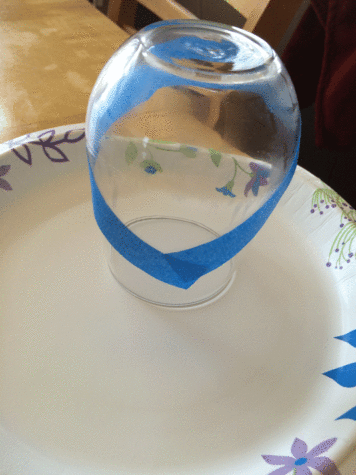
Once the rubbing alcohol finishes drying take your painter’s tape and wrap it around your glasses to your desired preference of shape and design. Make sure that the tape is on tight and secure.
Next take your foam pouncers, dip it in your paint, and start painting the desired area on your glasses. After you you finish painting the first coat, let dry for an hour and then apply a second coat. If your glasses look like they need a third coat feel free to apply a third coat.
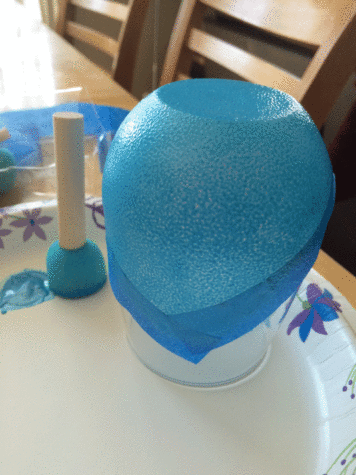
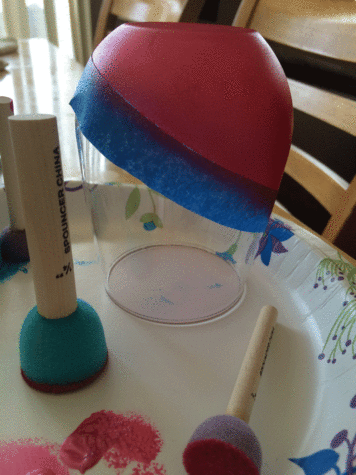
Once the second (or third) coat finishes drying, remove the painter’s tape from the glasses. If there are a few mistakes after removing the tape take the rubbing alcohol and cotton swabs to fix any mistakes.
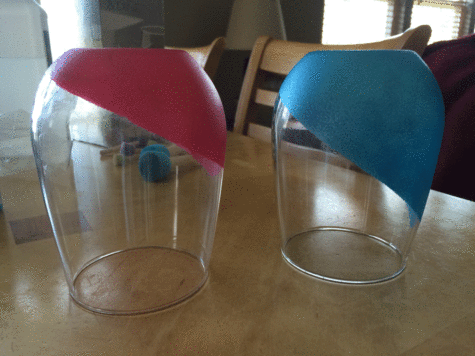 Chloe Moritz
Then to fully set the paint, take your tumbler glasses and put them on a cooking pan and place inside your cool oven (then glass needs to heat up gradually). Next turn your oven to 350 degrees, then once the oven finished heating up completely leave your glasses in for another 30 minutes.
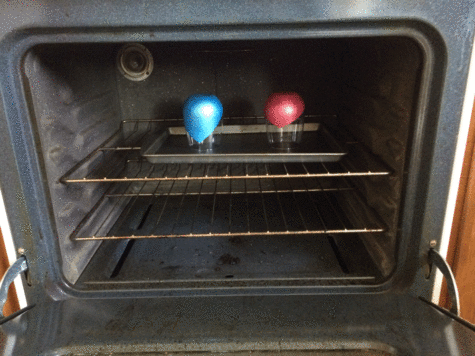
After the 30 minutes turn off the heat to your oven and let the glasses cool gradually inside your oven. Once they finish cooling wait three days before using to finish setting.
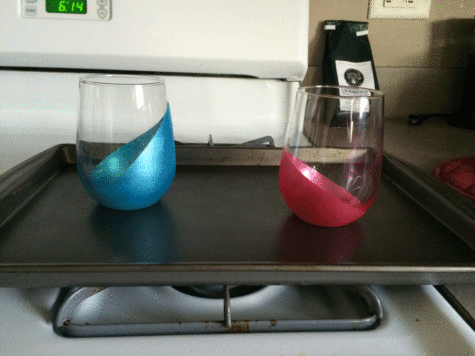
Then finally tada you have your very own painted tumbler glasses.
